Create a Care Schedule
The first step in cleaning and maintaining your flooring is to create a cleaning routine or program. It should consist of daily tasks, occasional tasks, and restoration-related tasks. Daily tasks will be completed at least once a day and usually consist of cleaning the floor, buffing, and a stain-treating method that can be called upon whenever something is dropped or spilled.
Occasionally, tasks are only to be done once every so often to restore the floor’s original look. Restorative tasks need to be planned for but are much rarer than the other two types. Usually, these steps will only be taken once the floor’s finish has become severely discolored or damaged and must be completely stripped and reapplied.
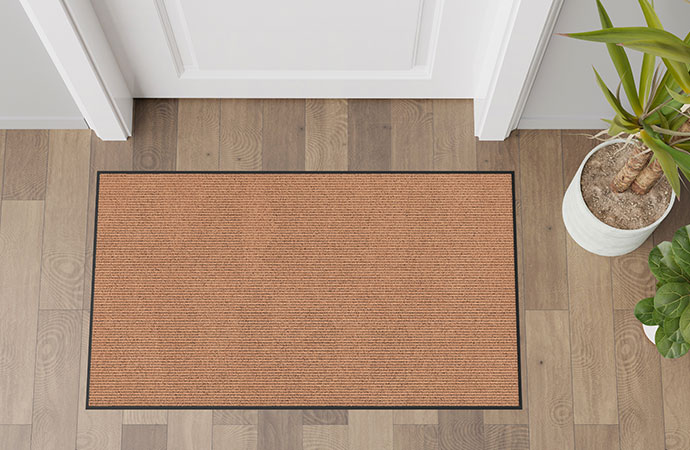
Place Mats
Placing mats is the simplest and easiest way to lessen the dirt you, your employees, and your guests will track into your building. As you’d expect, you’ll want to place mats at the entrances and exits of your building, but there are a few other places as well. If you know that an area is heavily trafficked, placing a runner rug or two will help catch the dirt and keep your floors cleaner.
In entrances, placing one mat near the door and another a bit farther down the entryway will eliminate even more dirt. If possible, place one outside the door as well. However, ensure there’s a cleaning regimen for these mats, as failing to do so will create a larger mess.
Daily Tasks
There are a few daily tasks that must be completed to keep your floors clean and maintain them. Some will be done multiple times a day, while others will wait until after the building has closed for the day.
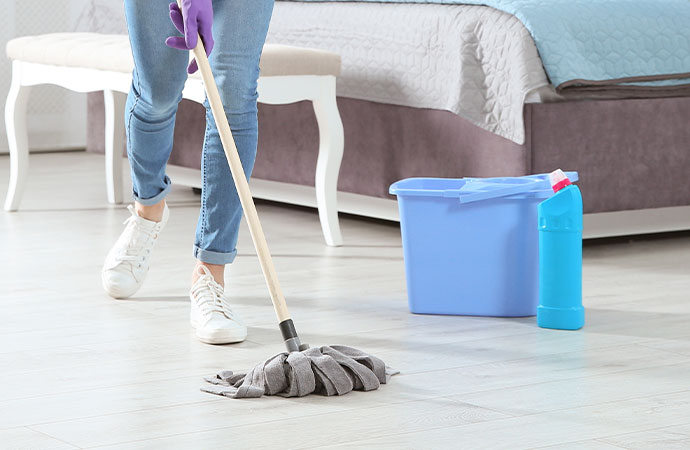
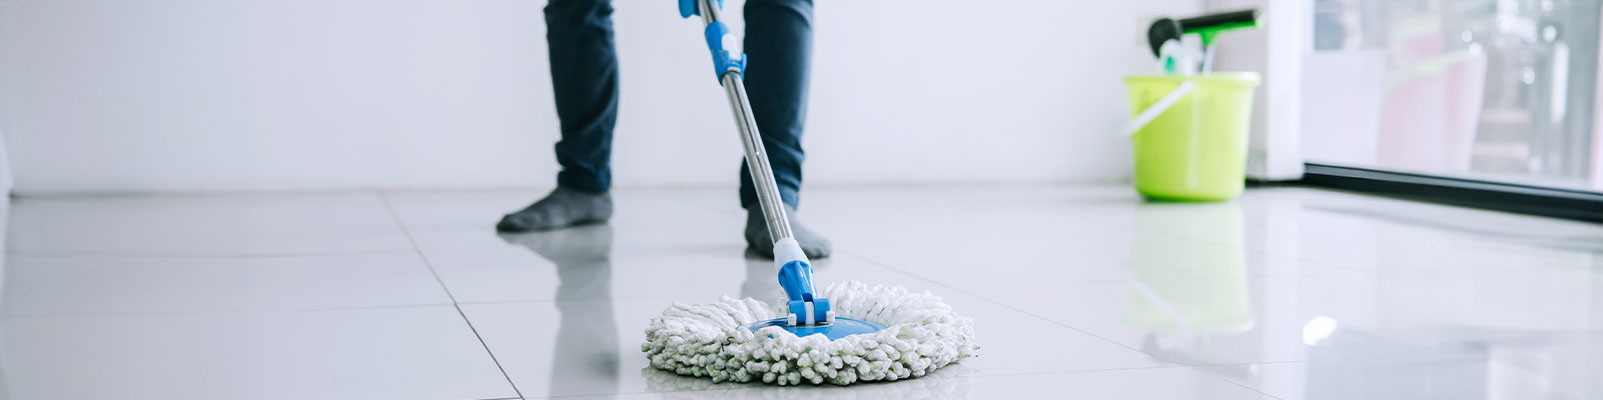
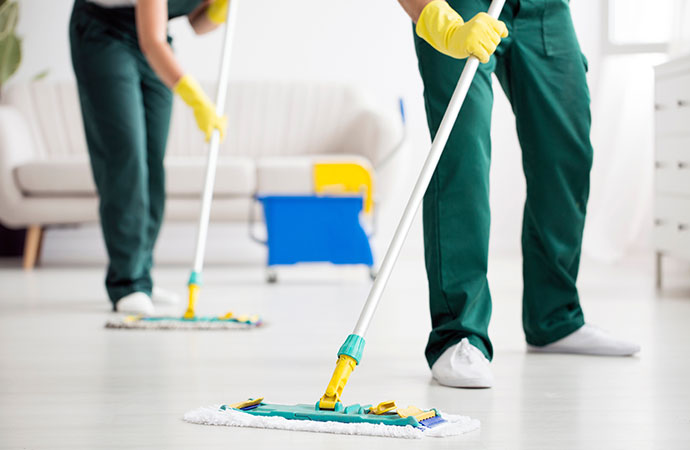
Mopping
There are a few different types of mopping, with each being used for different kinds of messes. Dust mopping does exactly what its name implies: it removes dust and larger debris from the floor. For some areas, this will only need to be done once or twice a day. However, this may need to be done throughout the day for more heavily trafficked areas to keep the floor clean. Dust mopping should be done before damp mopping and auto-scrubbing, as it will make those processes easier.
There is also damp mopping and auto-scrubbing. Damp mopping also needs to be completed daily and must follow dust mopping. Damp mopping before dust mopping will make the process take longer and may cause issues if the mess is big enough. This is when you break out the water bucket and stronger cleaning supplies. You could also use an auto-scrubber, as its pads or brushes are more aggressive and will lift debris quicker. They also utilize a vacuum to suction up the loosened soil and cleaner. Dust mopping should also precede auto-scrubbing for the best results.
Buffing
Once the floors are cleaned, you can improve the look of the finish by buffing it with either a high-speed or low-speed machine. High-speed machines are more efficient than low-speed ones and complete the job quicker. While low-speed machines are slower, they may work better for certain finishes. To know which speed you should use to buff your flooring, read the instructions on the finish. This must be done after the floors are cleaned. Doing so too early may cause the finish to be permanently stained or ruined.
Reapply Finish
Once in a while, buffing the floor won’t leave the finish as shiny as it once did. When this happens, you’ll need to scrub and recoat certain parts of the floor.
First, you’ll need to perform a top scrub to remove any dirt from the top layer of the finish, then a deep scrub to remove the finish from that location. Then, you’ll need to decide how many layers of finish you’ll apply to that location.
You’ll obviously need to add at least one, but adding multiple layers could make it look glossier and more appealing. Remember that whatever finish you apply here will need to be buffed later, so ensure the frequency of your machine matches what the finish recommends. This process will need to be done less frequently than cleaning and buffing, but having a plan and the required resources ready for when it does need to happen will make the process quick and smooth.
Restore and Repair
Eventually, despite all of your cleaning regimens and mats, you’ll need to remove the finish from the floor completely. You’ll know when this needs to happen when the floor has picked up a yellow or brown hue and the deep scrub and finish reapplication don’t improve the appearance.
You’ll start by using a stripping solution. Make sure to read and follow the instructions provided on the container. Once the allotted time has passed, remove the solution and rinse every spot thoroughly with clean water. Once all of the old finish has been removed, you’ll want to select a new finish. Again, remember that this finish will need to be buffed, so make sure your machine’s frequency is able to do so.
You’ll then want to apply a layer, wait for it to dry (time varies based on environmental factors), and then apply a new layer. How many layers you add is up to you, though your finish may have a recommendation. You may want to consider applying at least four layers to achieve a shiny, glossy look.
Knowing ahead of time what your cleaning and maintenance procedures will look like will allow you to decide when to open and close and give your cleaning staff or janitorial service an idea of what to do and what your expectations are. They’ll then put these plans into practice and leave you with shiny, clean floors.
Why Choose Panhandle Cleaning & Restoration?
4.95 out of 426 reviews
Other pages you may be interested in...